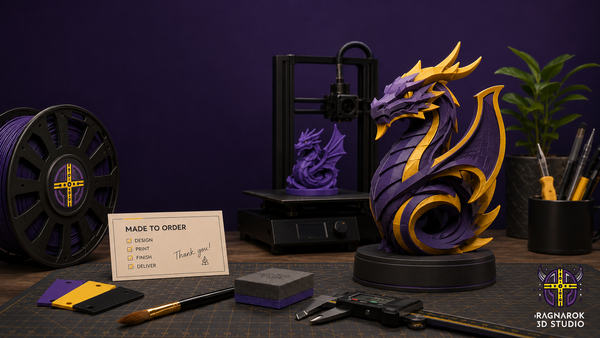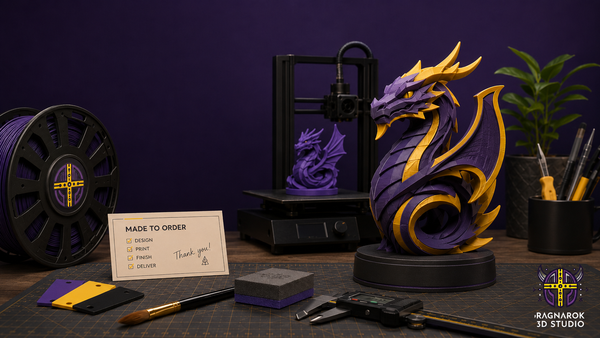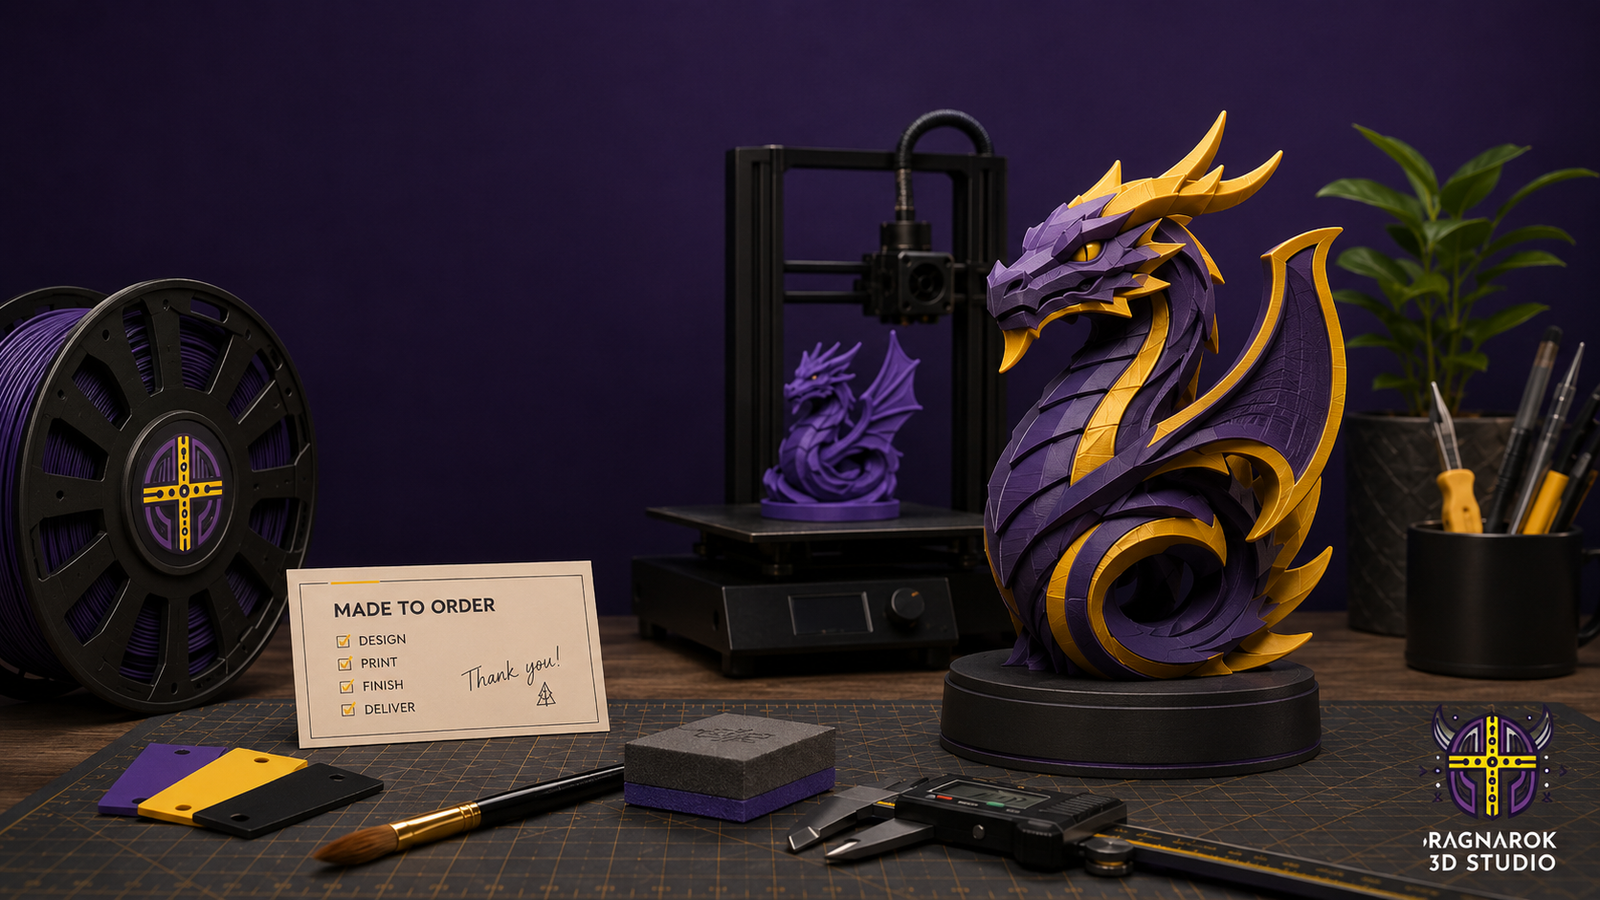

Custom 3D printing is a step-by-step process that turns an idea, sketch, file, or project request into a finished print with the right material, clean detail, and practical finishing.
You do not need to know how 3D printing works to start a custom project.
Most custom orders begin with something simple: a rough idea, a sketch, a logo concept, a broken part, a gift request, a tabletop accessory idea, or a question that starts with, “Can this be made?” From there, the job is to turn that idea into something printable, useful, and worth showing off.
At Ragnarok 3D Studio, custom 3D printing is not just pressing start on a machine. It is a practical process that includes design review, material choice, print planning, cleanup, finishing, and quality checks. The goal is simple: clean detail, bold design, and real craftsmanship. Forged in Design. Printed in Precision.
Step 1: Start With the Idea
A custom 3D print can start in several ways. Some customers already have a finished 3D model file. Others have a drawing, a photo, a name, a school event theme, a tabletop gaming need, or a product idea that still needs shaping.
The first step is understanding what the finished piece needs to do. Is it decorative? Will it be handled often? Does it need to be painted? Will it sit outdoors? Does it need to flex, hold weight, fit another object, or match a certain size?
Those questions matter because a print that looks good on screen still has to work in the real world. A display piece, a sport-chain-style pendant, an RPG accessory, a paintable craft item, and a functional bracket may all need different design choices.
Step 2: Review the File or Build the Design
If you already have a 3D file, the next step is checking whether it is ready to print. A file may need review for scale, wall thickness, small details, overhangs, weak points, and orientation. Small adjustments can make a big difference in the final result.
If the project starts from an idea instead of a finished file, the design phase helps turn that concept into a printable model. This might include creating a simple shape, adding raised text, adjusting proportions, planning assembly points, or simplifying details so the printer can produce them cleanly.
This is where custom work becomes more than a file upload. A good design review helps prevent problems before material and print time are wasted.
Step 3: Choose the Right Material
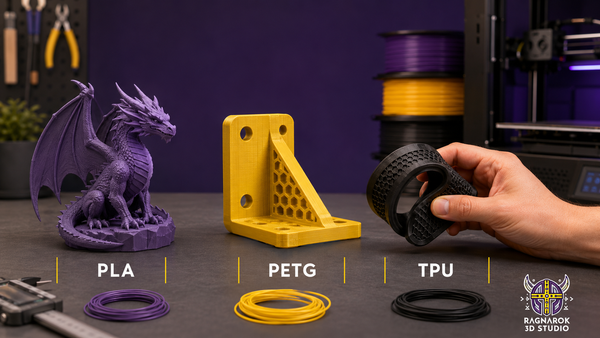
Material choice depends on how the item will be used. PLA is often a strong choice for decorative pieces, detailed models, paintable prints, miniatures, tabletop accessories, and many indoor items because it can capture clean detail. PETG may be a better fit when added durability or better temperature resistance is useful. TPU can be used for flexible parts such as bumpers, grips, gaskets, or soft protective pieces.
There is no single best material for every project. The right choice depends on the model, the environment, the finish, the amount of handling, and the customer’s goal. That is why the material discussion is part of the custom process, not an afterthought.
Step 4: Prepare the Print
Before printing, the model has to be prepared for the printer. This includes choosing print orientation, layer settings, support needs, infill, and other practical setup details. These choices affect strength, surface quality, print time, and how much cleanup the finished piece may need.
For example, a model with raised lettering may need to be positioned differently than a simple flat sign. A detailed dragon or miniature may need supports in different places than a functional holder. A pendant or medallion may need clean front-facing detail and enough strength around the loop or attachment point.
Print preparation is the behind-the-scenes work that helps the finished item look and feel right.
Step 5: Print Layer by Layer
3D printing builds the item one layer at a time. That is what gives the process its flexibility. It also means that time is part of the craft.
A small keychain may print quickly. A larger display piece, RPG terrain part, sport chain medallion, prototype, or multi-piece custom project can take hours or longer. If multiple parts are involved, each piece may need to be printed, checked, and assembled separately.
The printer does the building, but the process still needs attention. Print speed, detail, material behavior, and model geometry all affect the outcome.
Step 6: Inspect, Clean Up, and Finish
Once the print is complete, it still needs to be checked. Depending on the project, finishing may include removing supports, cleaning up small marks, checking edges, test fitting parts, sanding specific areas, assembling pieces, or preparing the surface for paint.
Paintable and hand-painted prints need extra care. A good base print gives the final finish a better foundation. Clean surfaces, clear details, and sturdy handling points make a difference for craft projects, gifts, display pieces, and tabletop items.
This stage is where the print starts to feel less like raw output and more like a finished product.
Step 7: Package the Finished Print
The final step is packaging the item so it is ready for pickup, delivery, shipping, gifting, painting, or display. Custom pieces are often made for a specific person, event, hobby, or purpose, so presentation matters.
For Ragnarok 3D Studio, that means checking the piece one more time and making sure it is handled with the same care that went into the design and print.
What Makes Custom 3D Printing Worth It?
Custom 3D printing is valuable because it gives you options that standard store-bought products usually cannot. You can create a personalized gift, a useful replacement part, a tabletop accessory that fits your setup, a paintable group craft item, a school spirit piece, or an original idea that does not exist on a shelf.
It also lets the process match the project. The size, material, color, finish, and design can all be considered before the first layer is printed.
That does not mean every idea is automatically printable exactly as imagined. Some concepts need changes for strength, scale, detail, or material limits. But that review is part of what makes the result better.
Start With the Question
You do not need a perfect file to begin. You can start with a question, a sketch, a project goal, or a rough concept. From there, the process can move from idea to design, from design to print, and from print to finished piece.
Custom 3D printing works best when the final product is built around how it will actually be used. That is where planning, material choice, print quality, and finishing all come together.
Bring us your design and we’ll make it real.
Start a custom 3D print request or browse current Ragnarok 3D Studio prints.
Ready to add it to your collection?
Printed to order · Ships in 3–7 business days